Step Back, Change the Picture: Lens Compression Explained
Why does a background sometimes look distant and spacious, then suddenly appear right behind your subject? Understanding camera position, focal length, and background blur gives you control over that transformation.
A friend of mine was experimenting with photography for the first time, taking pictures of his car with a zoom lens. Afterwards, he came back with an observation: the car looked better when he moved farther away and zoomed in than when he stood close and used the wide end of the lens.
He had noticed something photographers use all the time, often before they understand why it works.
We usually call it lens compression: the effect that makes a background appear closer to the subject and the scene feel flatter.
To create it deliberately, step farther away from your subject and use a longer focal length to maintain your framing. The important part is understanding what each of those actions changes.

Same person, same location—where did all that space go?
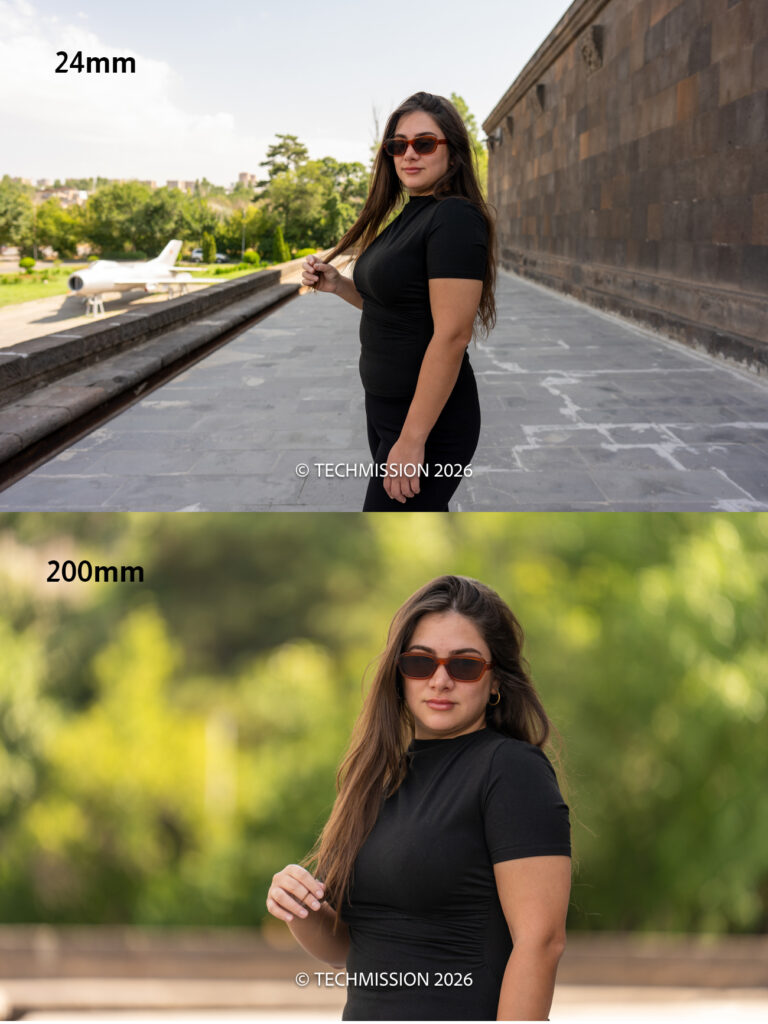
In the video, I compare two photographs of the same person in the same location. One was taken at 24mm, the other at 200mm.
In the wide-angle photograph, the scene feels more open. You can see more of the surroundings, and the background appears farther behind the subject.
In the telephoto photograph, the background looks larger relative to the person. The apparent distance between them shrinks, creating that compressed look.
Nothing in the location needed to move. The change came from the shooting position and the framing.
This is useful far beyond portraits. It can make buildings loom behind a car, bring distant landscape layers together, or turn a busy location into a simpler backdrop.
Your feet control perspective
“Lens compression” is a convenient name, but it can suggest that a long lens somehow squeezes physical space.
Perspective is controlled by camera position. Changing focal length from the same position changes framing; moving the camera changes the size relationship between near and distant objects. Nikon makes this distinction in its guide to photographic perspective.
We associate compression with telephoto lenses because of how we use them. To keep a person the same size in the frame with a longer lens, we usually step back.
Imagine someone standing in front of a building. Close to the person, the building is much farther from the camera than they are. Move well back, and that distance difference becomes proportionally smaller. The building now appears larger relative to the person.
The longer focal length lets you fill the frame from that farther position.
That order gives you a more deliberate way to compose.

A wide-angle lens can show compression too
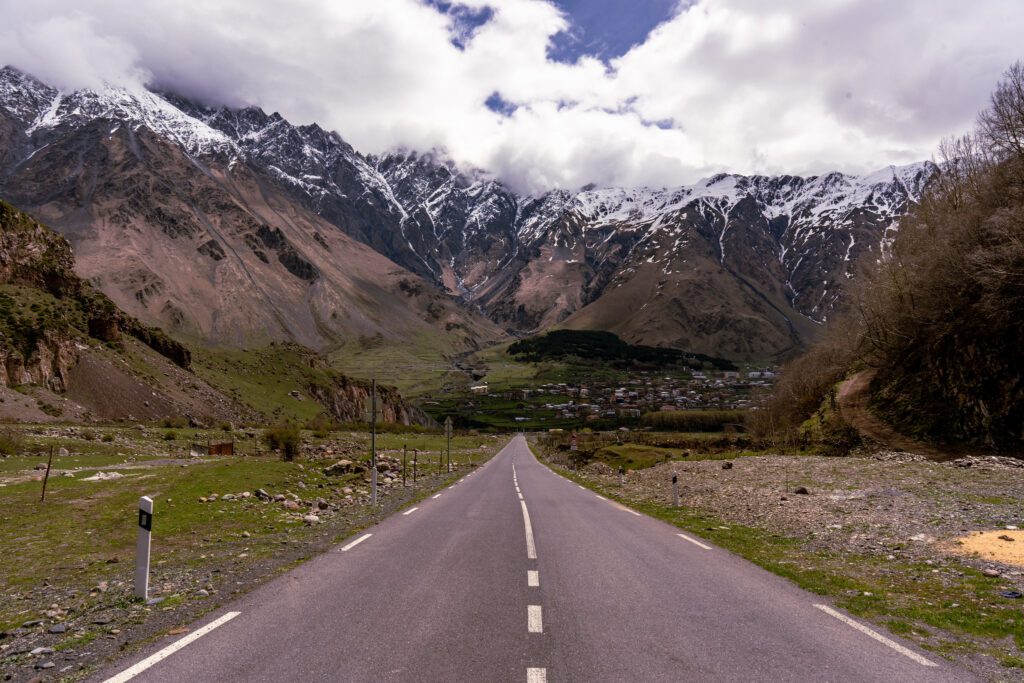
One of the examples in the video is a road photograph I took in Georgia using a 24mm lens. Despite the wide focal length, the distant scene has a compressed appearance.
The reason is the viewpoint: I was far enough from the scene for its layers to appear closer together.
A wide-angle lens does not automatically create an exaggerated sense of depth. That effect becomes especially noticeable when you get close to something in the foreground.
Think of photographing a car from near its front corner. The nearest part can dominate the image while the rest falls away into the distance. That can be a strong creative choice when you want energy and drama.
Move farther away, and the relationships change.
The useful question is: How do I want the space in this photograph to feel?
Compression and background blur do different jobs
A background can appear close without being blurred. It can also be blurred without looking particularly close.
Compression describes the apparent relationship between distances and sizes. Background blur describes how out of focus the background appears.
They often work together in telephoto portraits, which makes them easy to confuse.
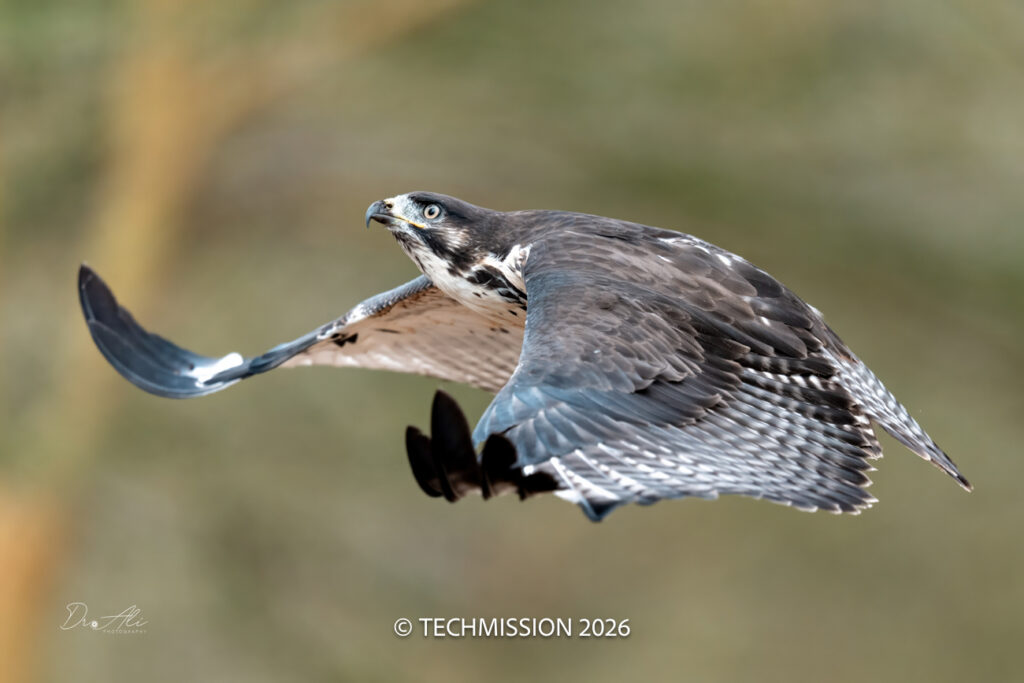
A longer lens gives you a narrower view of the surroundings. Combined with a farther shooting position, this can make background features appear larger relative to the subject. Distant, out-of-focus details may also look more blurred.
But “a longer lens always gives less depth of field” is too broad. With the same camera, the same subject size in the frame, and the same f-number, depth of field around the subject can be approximately similar across focal lengths—even while the distant background looks quite different. This distinction is explained in MIT’s computational photography material on lens image formation.
In practice, work on both parts of the picture. Choose your viewpoint and framing for the background’s apparent size, then use aperture and subject-to-background distance to help control its softness.
And keep looking at what is behind your subject. A blurred distraction can still be a distraction.
Try this exercise with the zoom lens you already have
Choose a stationary subject with something recognisable behind it: a person in front of trees, a parked car with buildings beyond it, or an object in a garden.
Keep the subject in the same position throughout.
- Start at the wide end. Move close enough to make a clear composition. Notice how large the background looks relative to the subject.
- Take the first photograph. Pay attention to how much of the surroundings enters the frame.
- Zoom in and step back. Adjust your position until the subject is approximately the same size in the frame as before.
- Take the second photograph. Compare the size of background features and the apparent space behind the subject.
- Keep the aperture consistent where possible. This helps you concentrate on the changes in perspective and framing.
- Make one more comparison without moving. From a single camera position, take a wide photograph and a zoomed-in photograph. Crop the wide image to match the tighter framing. The perspective should match closely, although detail and lens rendering may differ.
That final comparison helps separate the two actions you normally make together: changing focal length and changing position.
Use the background to tell the right story
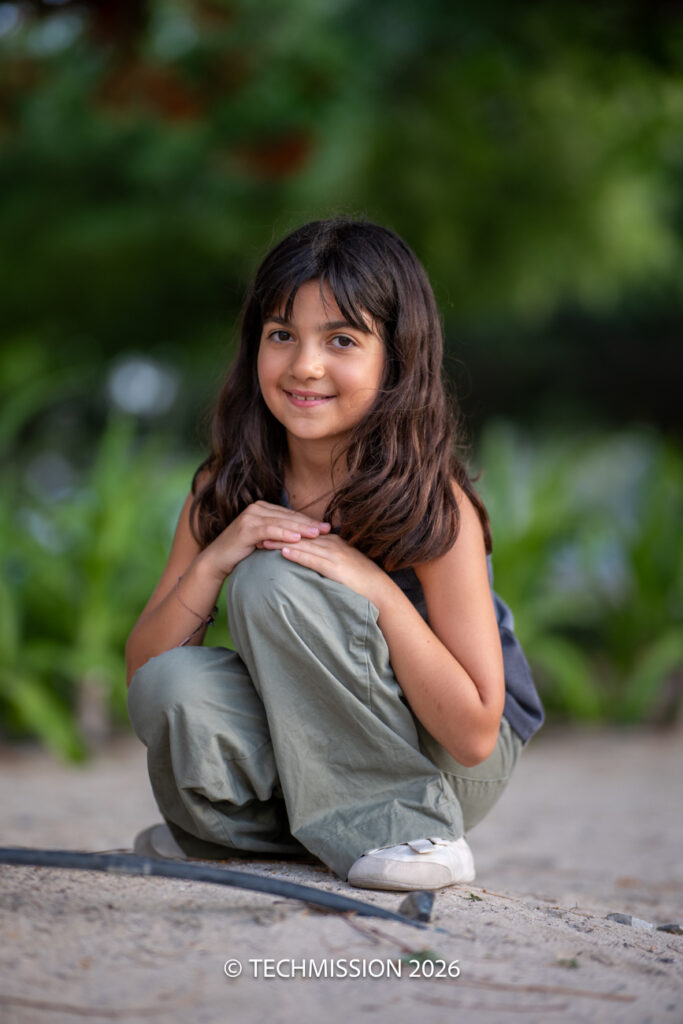
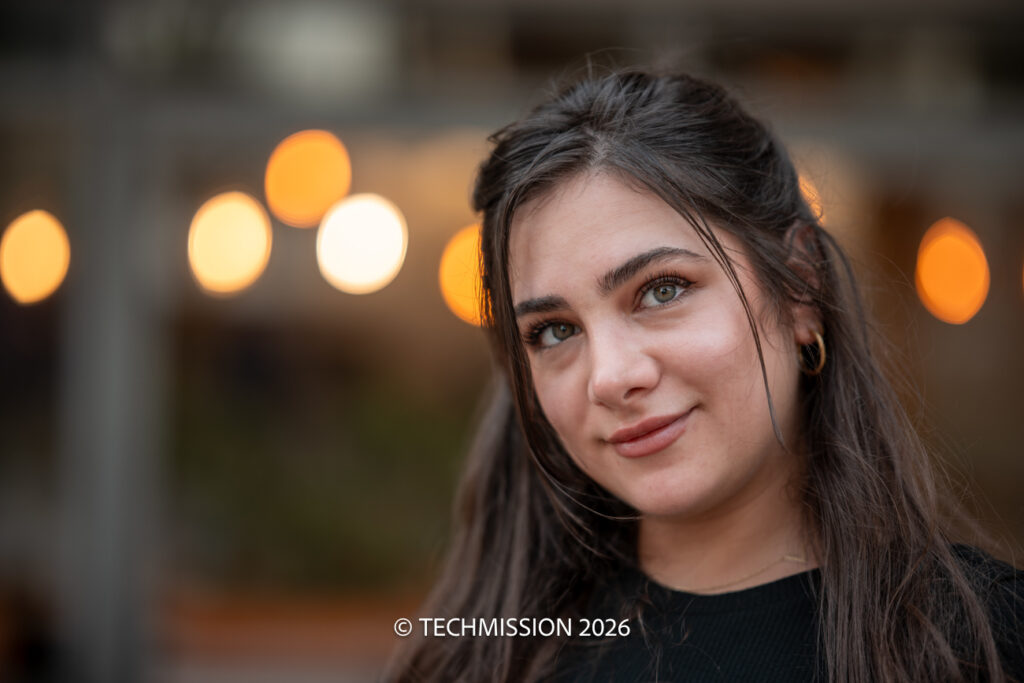
For a portrait where the person should dominate, a longer focal length can help you select a smaller, cleaner section of the background.
There is a reason 85mm and 135mm primes, along with the ever-popular 70–200mm zoom, are portrait favourites. On a full-frame camera, these focal lengths let you fill the frame while keeping a comfortable distance from your subject. That distance helps with what photographers call facial compression: compared with a close, wide-angle portrait, the nose appears less prominent relative to the ears, and facial proportions look flatter and often more flattering. The same change in viewpoint creates background compression, making distant features appear larger relative to the person and seemingly closer behind them. An 85mm offers a useful balance between working distance and intimacy; at 135mm, stepping farther back to maintain the same framing strengthens that compressed look. Many portrait primes also offer wide apertures such as f/1.4 or f/1.8, giving you another way to soften the background and separate your subject from it. The 70–200mm brings flexibility, especially in its f/2.8 versions: you can adjust framing quickly, or step back and work towards 200mm for stronger compression and pronounced blur in a distant background. The prime design itself does not create extra compression; viewpoint controls perspective, while aperture, focal length, and distances help shape the blur. This combination explains the apparent paradox: the background can look closer while the person stands out more clearly against it.
There is a practical limit. I also mention 400mm, but that can put you an inconvenient distance from the person you are photographing. Space and communication become part of the decision.
For an environmental portrait, the surroundings may deserve more attention. A wider composition can show where someone is and what they are doing. Moving closer with a wide-angle lens can also emphasise depth and give the photograph a more immediate feel.
Neither approach wins every time. They tell different stories.
Before your next photograph, take a few steps
My friend noticed the effect while photographing his car. Once you recognise it, you can start using it deliberately.
Before settling on a composition, try two versions: close and wide, then farther away with a longer focal length. Keep your subject roughly the same size and look carefully at everything behind it.
Does the scene feel more spacious? Does the background become more prominent? Have you removed distractions—or enlarged one?
Those few steps can change the entire character of the photograph.